
Last reviewed: September 2, 2026. A homeowner’s construction guide for conventional site-built ADUs, with California and Oregon examples. Your issued plans, permit conditions and local inspection instructions control your project.
Quick answer: After your ADU building permit is issued, confirm the conditions for starting work, organize the contractor and utility schedules, and move through site preparation, foundation, framing, rough utilities, insulation, finishes and final approvals. Required inspections happen throughout construction—not just at the end.
Your most useful question at each stage: “What must be documented or approved before the next crew starts?”
A backyard can look like a building site one week and a nearly finished home a few weeks later. Neither appearance tells you whether the project is ready for the next inspection, payment or move-in date. This guide helps you follow the ADU construction process through the decisions and records that matter to a homeowner.
If your plans are still under review, start with our California ADU permit-process guide. Here, we begin where that guide leaves off: the transition from issued permit to construction and handover.
The ADU construction process at a glance
From issued permit to move-in
Confirm start conditions, scope, access, utility responsibilities and the inspection plan.
Coordinate inspections with excavation, concrete, underground work and structural work.
Resolve inspection corrections before concealing work. Keep product decisions ahead of installation.
Collect final records, confirm permission to occupy and learn how to operate the finished ADU.
Before work starts: turn the permit into a shared plan
First confirm that “approved” means the permit has actually been issued and that any conditions required before starting work have been satisfied. Ask your permit contact which building, trade, grading or other permits apply, where the approved documents must be available, and what keeps each permit active.
Hold a preconstruction meeting with the contractor. Include the designer or engineer when there are unresolved details. Leave with a one-page record of these decisions:
- Who is in charge? Name the day-to-day site contact, the person who requests inspections, and the person authorized to approve owner changes.
- What is included? Reconcile the signed scope with the issued plans, allowances, exclusions and owner-purchased items. Resolve any mismatch in writing.
- How will the property function? Agree on access, deliveries, storage, fencing, parking, debris removal, working hours and notice before service interruptions.
- What can hold up the job? List utility appointments, long-lead products, design clarifications and owner decisions with a responsible person and a due date.
- What evidence will you receive? Agree on inspection reports, progress photographs, change orders and the format of weekly updates.
For a practical local example, Portland recommends a preconstruction consultation to clarify the required inspections and says to keep approved plans on site. A consultation is not an inspection approval. Ask your own department whether it offers a similar service.
If you have not selected a builder, use our California ADU contractor-selection guide before treating a proposed start date as a commitment.
Eight stages to follow during construction
1. Site setup, protection and preparation
The contractor organizes the working area and carries out the preparation shown in the approved scope. Depending on the property, this can involve demolition, clearing, erosion controls or protection of existing features.
Your action: photograph the driveway, fences, landscaping and other areas that deliveries will use. Agree on how they will be protected and restored. If you are living in the main house, ask for a clear separation between the construction area and your everyday route in and out.
Confirm who will arrange the utility locate before digging. 811’s guidance says to contact the state service, wait the required time and confirm utility responses before excavation begins. Ask what the locate covers and whether additional locating is needed on your property.
2. Excavation, underground work and foundation
The team prepares the foundation and coordinates any under-slab or below-ground services with the approved design. The actual work depends on the foundation system and site conditions; a slab and a raised floor do not follow an identical construction sequence.
Your action: ask for the upcoming inspection and concrete schedule together. “Concrete booked for Friday” is incomplete information unless the contractor has also allowed for required inspections and possible corrections. Keep the relevant inspection record with the project documents.
If something unexpected appears: ask the contractor to document it and explain whether the designer, engineer or permitting authority needs to review a proposed solution. Avoid approving an undefined repair described only as “we’ll work it out on site.”
3. Structural framing and weather protection
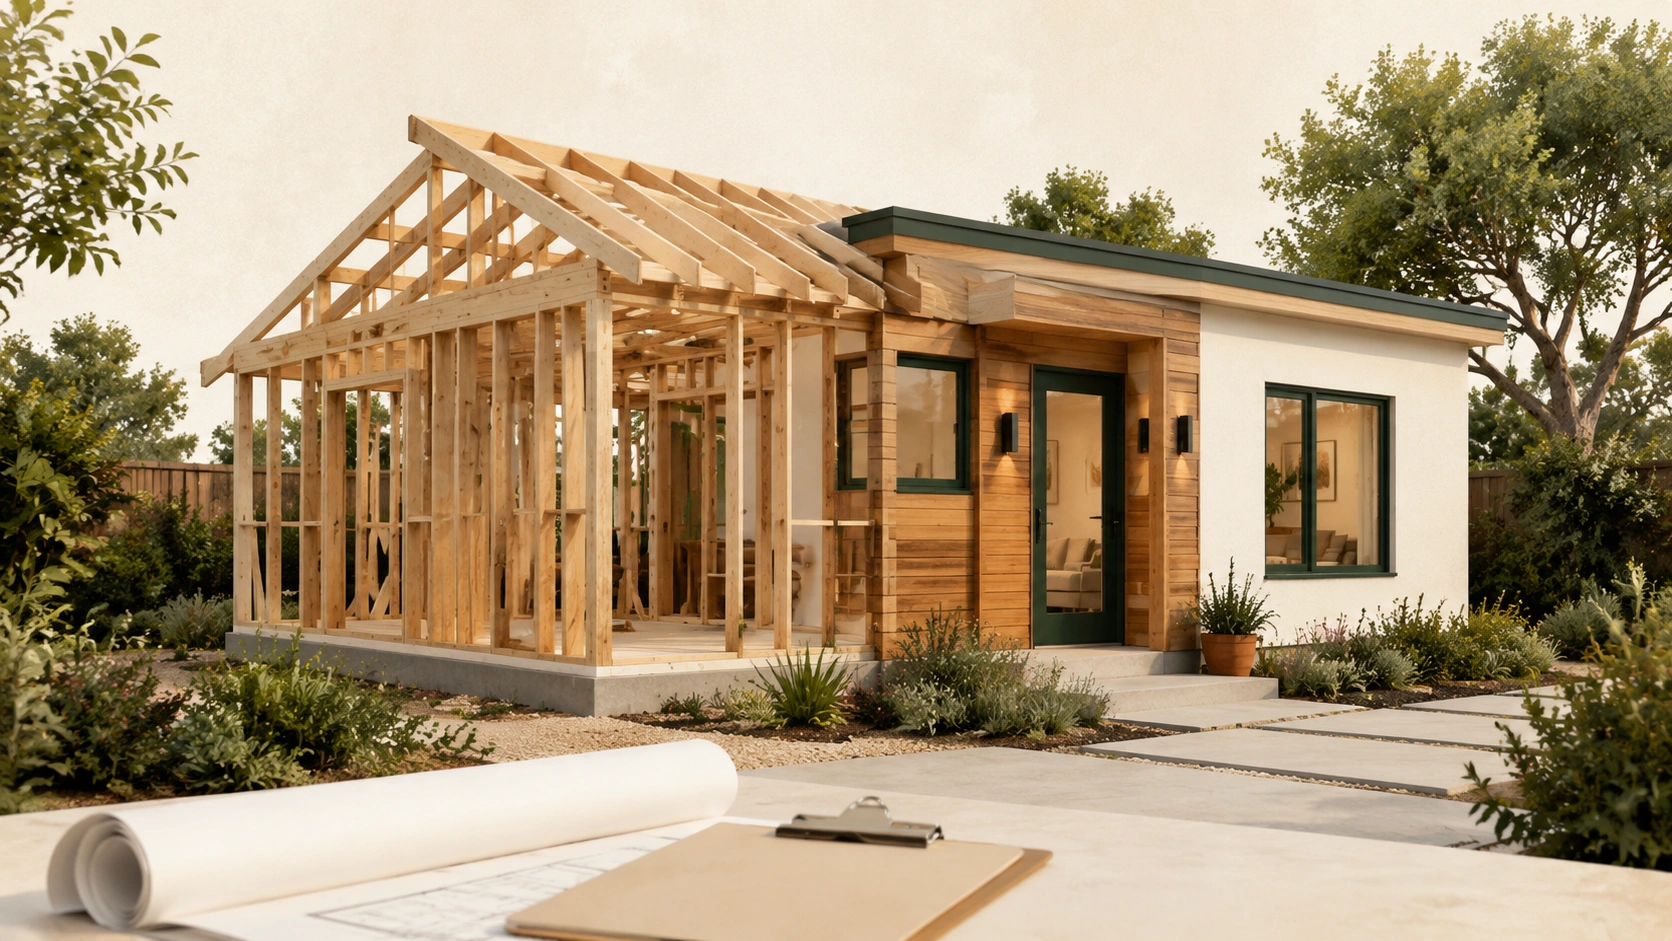
The walls and roof take shape, and the team works toward an enclosed building. This is a useful moment for a scheduled homeowner walkthrough: the space is easier to understand than it was on paper, but changing it may still affect approved plans, ordering and completed work.
Your action: review room use, furniture assumptions, door swings and equipment locations with the contractor. Raise discrepancies against the drawings promptly. Have the designer assess changes that affect the permitted design rather than giving informal instructions to individual trades.
Do not treat a roof or installed windows as proof that all weather-protection details are complete. Ask the builder when the enclosure will be ready for moisture-sensitive work.
4. Rough plumbing, electrical and mechanical systems
“Rough-in” means installing the parts of the building systems that generally sit behind finished surfaces. This is when coordinated decisions about fixtures, appliances and equipment become especially valuable.
Your action: confirm the selected appliance specifications and the agreed locations of outlets, switches, lighting, plumbing fixtures and controls before the crew closes those areas. Ask for organized photographs of accessible rough work for your maintenance records. Photos do not replace inspections.
San Diego’s inspection guidance places frame-and-rough approval before insulation. Your jurisdiction may group or separate these inspections differently; ask the contractor for the sequence tied to your permit.
5. Insulation, enclosure checks and wall coverings
The project moves from exposed systems toward enclosed walls and ceilings. This stage deserves deliberate coordination: finishes can hide work that an inspector still needs to see.
Your action: ask which approvals are needed before each covering is installed, not simply whether “the inspection” passed. In San Diego, insulation is inspected after weather-tightness and before surface coverings, with exceptions for certain loose-fill insulation. Its guidance also describes lath or gypsum-board inspections before specified finishes. These are local examples, not instructions to copy onto every ADU.
Ask the contractor and design team what energy documentation or field verification your approved project requires, who supplies it, and when it must be completed.
6. Interior finishes, fixtures and exterior completion
Cabinets, counters, flooring, paint, fixtures and other finishes bring the space closer to the home you planned. Exterior items and site restoration may continue alongside interior work.
Your action: use a selections list with the product, supplier, person ordering it and required delivery date. When a substitute is proposed, compare dimensions, performance, installation needs, price and any effect on approvals—not just color.
Start a punch list of visible issues, using a photo, room name and short description for each item. Distinguish a finish correction from an incomplete contracted item and from a new feature you are requesting. Those three items may need different treatment.
7. Utility completion, testing and final inspections
Finishing a room and making its systems operational are separate milestones. The contractor coordinates the remaining tests, trade finals, building final and other approvals that apply.
Your action: review a written closeout list before discussing a firm move-in date. Ask which appointments are confirmed, which documents remain outstanding and who is responsible for each item.
Utility scheduling deserves its own line on that list. For example, PG&E’s residential project guidance describes local electrical-panel inspection followed by coordination with PG&E for meter connection. Your provider’s requirements may differ. A building permit does not reserve a utility crew.
8. Occupancy authorization and homeowner handover
Ask the building department what record confirms that your specific ADU may be occupied. Depending on the jurisdiction and project, this may involve a certificate of occupancy or another final approval record.
San Diego issues a certificate of occupancy after final approval of the inspections for the building and associated permits. Do not infer permission to occupy from a contractor’s statement that the building is “basically done.” If temporary occupancy is being considered, obtain the authority’s written authorization and understand its conditions.
Your action: complete the operating walkthrough and collect the documents listed in the handover checklist. If you plan to rent the ADU, separately confirm any rental registration, lease and local operating requirements before the tenancy begins.
Three checkpoints worth putting on your calendar
Ask which underground and foundation work must remain visible, and obtain the applicable inspection result before concealment.
Confirm the required rough, structural and insulation approvals for the work being covered.
Confirm the required final approvals and obtain the local record authorizing use of the ADU.
San Diego explicitly requires inspections before work is covered or concealed. Build the same question into every stage conversation: which work must remain accessible until the inspector accepts it?
If an inspection requires corrections, keep the written report, assign each item to a responsible person and ask when reinspection can be requested. Do not assume that a correction is closed because someone has worked on it. Portland’s guide explains that failed inspections produce a correction report; your local portal or inspection card is the place to confirm your own result.
How long does ADU construction take after permit approval?
Ask for a project-specific schedule measured to final approval, not just to the last day of building work. There is no single duration that fits a detached ADU, a difficult garage conversion and a factory-built unit.
As a local planning reference, Cotati’s homeowner guide lists construction at 6–12 months. That is not a national average or a promise for your project. Ask your contractor to explain their duration using the actual design, crew availability, access, material orders and utility requirements.
| Schedule line | Ask for this detail | Why it matters |
|---|---|---|
| Work by the contractor | Start, finish and predecessor for each major stage | Shows what must finish before another crew can start |
| Owner decisions and purchases | Decision deadline and delivery confirmation | Makes your responsibilities visible |
| Inspections and corrections | Booking responsibility and allowance for a return visit | A booked inspection is not a guaranteed approval |
| Utility work | Application status, outstanding requirements and provider appointment | External work can govern readiness to occupy |
| Closeout | Final documents, approvals and handover appointment | Prevents “construction finished” from hiding unfinished administration |
Illustrative example: your cabinets are ready, but the electrical service appointment is unconfirmed. Moving the cabinet installation forward may improve appearance without moving the occupancy date forward. Ask, “Which unfinished task currently determines our completion date, and what action will resolve it?”
What changes for a garage conversion or prefab ADU?
Garage conversion: start with the approved work to the existing structure. Do not mark foundation, framing or weather-protection concerns “not applicable” solely because a shell is already there. Ask which existing conditions have been verified and how discoveries will be handled. Our garage-conversion cost guide can help organize that budget discussion.
Prefab or modular: obtain a schedule showing both factory work and site work, plus delivery, placement, connections and local closeout. Ask who owns the interface between the supplier and the site contractor. This article’s site-built sequence is not a factory-inspection checklist; the construction system and approving agencies determine those requirements.
Keep payments and changes connected to documented work
Use your signed contract and applicable law to evaluate payment requests. Do not rely on an informal statement such as “we’re about 70% done.” Ask which contract milestone the invoice covers, what work or material supports it, and whether approved changes have been included correctly.
For California home-improvement contracts, CSLB explains that progress payments cannot exceed the value of work performed, apart from the permitted down payment, and that scope or price changes must be documented in a signed written change order before the change. Contract classifications and state rules vary; confirm the requirements for your project rather than applying a generic payment percentage.
Before approving a change, request five things: the reason, the revised scope, the price or credit, the schedule effect, and any required design or permit revision. Keep requested changes separate from approved changes in your budget.
Also establish the lien-release process. CSLB warns that paying a contractor does not by itself establish that subcontractors and suppliers have been paid. Its California forms distinguish conditional releases linked to payment from unconditional releases acknowledging payment. Use the appropriate local process with your contractor, lender or adviser.
Your ADU construction meeting planner
Use this as a meeting-preparation checklist. Mark an item only after you have discussed it and recorded the answer. These are your meeting records, not construction completion or legal approval. If an item does not apply, record why in your notes.
What have you confirmed?
Use the checkboxes and notes during your meeting. This planner does not save your entries when you leave or reload the page. Use your browser’s Print command to print the guide or save a PDF before closing it. Do not enter sensitive information.
Weekly meeting notes
Record the meeting date, what is blocking the next stage, the next inspection, decisions due, and each action’s owner and deadline.
What to collect at handover
Create a folder you can use years later, not just an inbox full of attachments. Ask your contractor to identify any outstanding item and its delivery date.
- Approval records: relevant final inspection results, permit closure records and the local occupancy authorization.
- Project documents: the issued plan set, approved revisions, signed changes and available records of concealed work.
- Financial records: invoices, payment evidence, applicable releases and an explanation of any remaining balance or dispute.
- Equipment information: installed model numbers, manuals, warranty terms, registration requirements and service contacts.
- Operating walkthrough: ask the contractor to demonstrate normal use of heating/cooling, ventilation and water heating, and identify shutoffs and the electrical panel.
- Remaining work: a dated punch list with clear descriptions, responsible parties and agreed follow-up dates.
- Property readiness: keys, access arrangements, completed cleanup and the agreed restoration of areas used during construction.
Keep final inspection, contractual completion and homeowner acceptance as separate records. One document does not necessarily resolve every issue on the other lists.
Common questions after an ADU permit is approved
Can construction start as soon as the plans are approved?
Confirm permit issuance and all applicable pre-start conditions first. Ask your permit contact about required trade permits, preconstruction checks and other project-specific approvals. Plan approval alone should not be your start instruction.
Who schedules ADU inspections?
Make this an explicit responsibility in your project arrangements. San Diego places scheduling responsibility on the contractor or owner. As a homeowner, know how to access the results even when your contractor handles the bookings.
Can I change the layout during construction?
Discuss the proposed change with your contractor and designer before authorizing work. Confirm its cost, schedule effect and whether revised approval is required. A signed change order does not itself revise a building permit.
Does an inspection replace my own walkthrough?
No. Use inspection records to track the authority’s acceptance of regulated work. Use your walkthrough to check the agreed scope, product selections, operation and finish issues. Keep both records.
Can someone move in while small items are unfinished?
Ask the local building authority whether occupancy is authorized for the actual condition of the project. Some finish items and some approval conditions have very different consequences. Do not decide based on the size of your punch list.
What should I do if the project stops moving?
Ask for a written status update identifying the unfinished task controlling the schedule, the person responsible, and the next dated action. Compare that explanation with inspection, delivery and utility records. Escalate unresolved contractual issues through the process in your agreement and applicable local consumer-protection channels.
Your next step: take the planner to your next contractor meeting. Leave with the next inspection, the next owner decision and the next unresolved dependency each assigned to a person and a date.
Need to revisit the budget? Use our ADU cost guide and calculator to keep the whole project budget visible alongside construction invoices.
Official sources and how to use this guide
This guide combines official inspection and consumer guidance with ADU Project Planner’s homeowner meeting checklists and organizational suggestions. The examples do not establish a nationwide inspection sequence, construction duration or contract rule. Technical decisions belong with your project’s qualified professionals and approving authorities.
- Portland: Residential Inspections, Start-to-Finish Guide — consultation, inspection sequencing and correction records.
- San Diego: Inspections — scheduling responsibility and inspecting before concealment.
- San Diego: Types of Inspections — examples of rough, insulation and covering-stage checks.
- San Diego: Certificate of Occupancy, Bulletin 585 — final approvals and occupancy documentation.
- Cotati: Building an ADU or JADU — local construction planning timeline.
- PG&E: Residential Project Resources — service coordination and meter connection.
- 811: Before You Dig — locate requests and utility responses.
- CSLB: Learn About Home Improvement Contracts — California contract, payment and change-order guidance.
- CSLB: Conditional and Unconditional Waiver and Release Forms — California payment-release distinctions.
Sources checked September 2, 2026. See our editorial standards or send a correction.
2 thoughts on “ADU Construction Process: What Happens After Your Permit Is Approved?”